7 Essential Mini Excavator Attachments for Better Jobsite Results
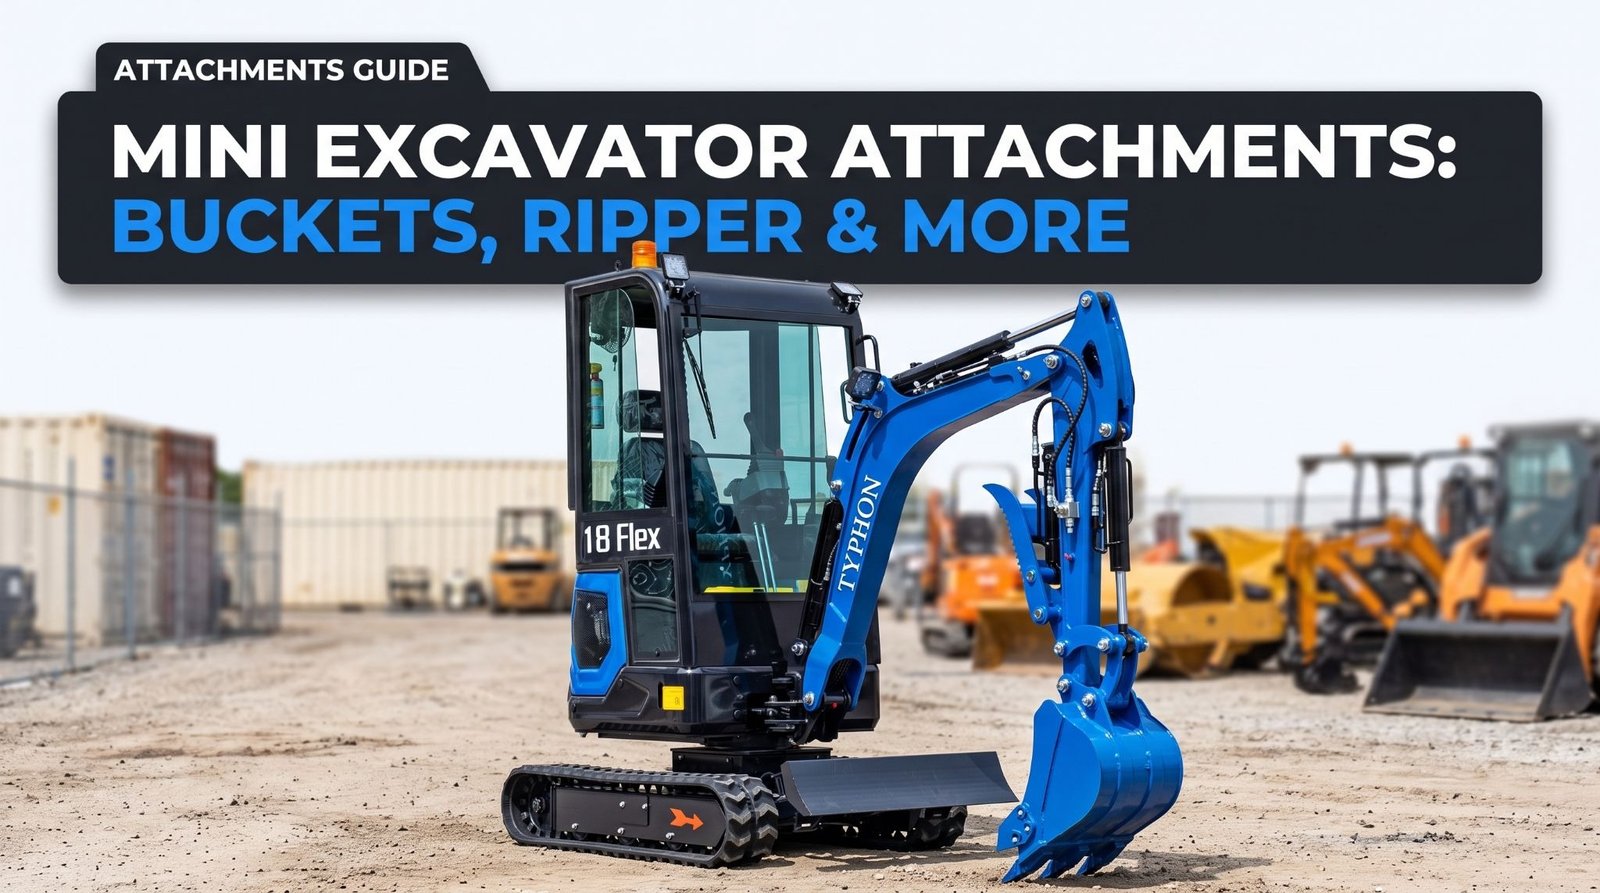
Mini Excavator Attachments: Buckets, Ripper & More
A utility contractor buys a mini excavator with a single digging bucket, confident it’ll cover the trenching work that fills his schedule. Two weeks in, a job hits a seam of compacted shale the bucket just skates across, so he rents a ripper for the afternoon. The next site needs a row of deck footings drilled, then a slab demolished, and before long he’s driving to the rental yard every few days for a different tool. Halfway through the season, he realizes the machine parked in his yard could have tackled all of it with the right attachments on the coupler, and the stack of rental receipts on his desk proves how much that gap cost him. That slow lesson is exactly why understanding attachments matters before you assume a mini excavator is just a bucket on an arm.
A mini excavator is only as capable as the tool mounted on its coupler, and swapping that tool changes what the machine can actually do. Fit a digging bucket and it trenches; mount a ripper and it tears through hard ground; add a breaker and it demolishes concrete. This guide walks through why attachments matter so much, the standard digging bucket, ripper and tooth tools, the hydraulic breaker, the auger, and a specialty tool like a tilt bucket or grapple. For each one, you’ll see what it does, where it earns its keep, and how it fits your machine’s hydraulic flow and coupler. Here’s what to know before you pick a tool for the arm.
Why the Right Tool Multiplies the Machine
Versatility is the quiet reason mini excavators show up on so many job sites, and that versatility lives entirely in the attachment. The machine supplies the power, the hydraulics, and the reach, while the tool on the coupler decides whether that capability goes toward digging, ripping, breaking, or drilling. One machine backed by a rack of attachments does the work of several single-purpose units.
Cost savings follow straight from that flexibility. Rather than buying a separate breaker rig, an auger truck, and a demolition machine, a contractor invests in one mini excavator and swaps tools as the work shifts, spreading a single machine’s price across far more jobs. Attachments generally cost a fraction of a dedicated machine, so building a small collection stretches an equipment budget hard.
Matching the tool to the task is where the real value shows. Forcing a digging bucket through rock wastes fuel and time, while a ripper handles the same ground in minutes, so knowing which tool fits which job keeps the machine productive instead of struggling.
Key takeaway: Picture the mini excavator as a power source and the attachments as its many hands. Every capable tool you can mount multiplies the machine’s value, so the attachments you choose shape what your operation can take on.
The right mini excavator attachments help one compact machine handle digging, demolition, drilling, grading, and material handling tasks.
The Everyday Digging Bucket
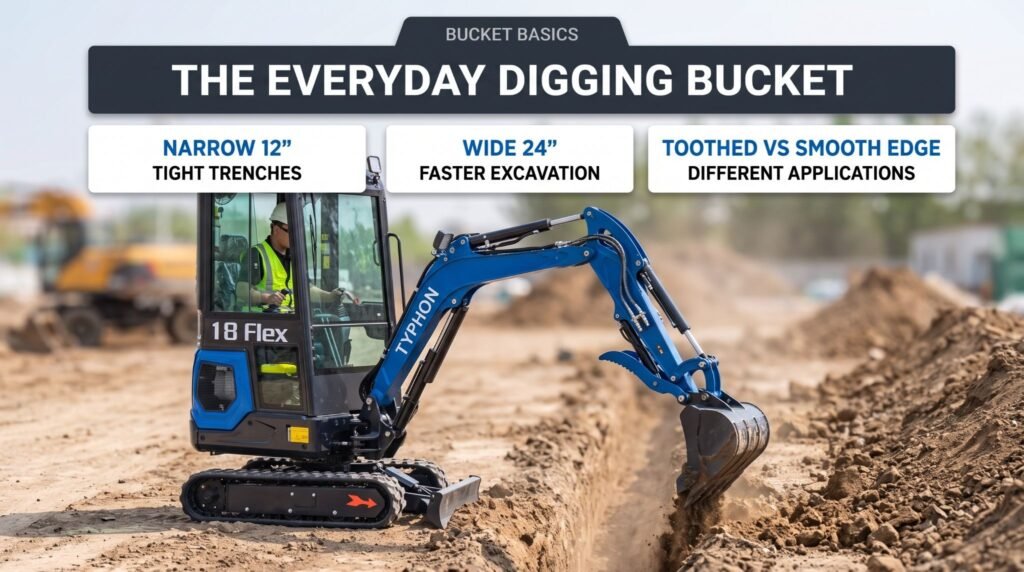
Buckets are the tool most owners reach for first, and the standard digging bucket handles the bulk of everyday work. Bolted or pinned onto the coupler, it trenches, digs footings, grades, and moves loose soil, gravel, and fill across the site. Its narrow profile bites into the ground and clears a clean trench that wider tools can’t match.
Width is where digging buckets vary, so match the size to the trench you need. A narrow 12-inch bucket cuts tight utility trenches with less spoil to backfill, while a wider 24-inch bucket clears footings and general excavation faster. Keeping a couple of widths on hand lets one machine dig everything from a pipe trench to a foundation without compromise.
Ground conditions shape which bucket earns its place. Toothed buckets tear into hard or rocky soil where a smooth edge would skate, while a smooth-edge grading bucket finishes and levels surfaces cleanly. Reading the material in front of you keeps you from forcing the wrong bucket through ground it was never built for.
Key takeaway: The digging bucket is your bread-and-butter tool for trenching and excavation. Keep a few widths sized to your typical trenches, and choose toothed or smooth edges to match the ground you’re actually cutting.
Tearing Through Hard Ground With a Ripper
Choosing compatible mini excavator attachments helps contractors complete more work without investing in several separate machines.
Rippers turn a mini excavator into a ground-breaking specialist, tackling material a bucket simply can’t. Shaped like a single heavy tooth or shank, a ripper concentrates the machine’s full force onto one point, tearing through compacted clay, shale, frozen ground, roots, and fractured rock. Where a bucket bounces off hard-packed soil, a ripper drives straight in and breaks it loose.
Force focused on a single point is what makes the tool work. Rather than spreading the machine’s power across a bucket’s whole edge, a ripper channels it into one shank that pries and fractures dense material, loosening ground so a bucket can then dig it out. That one-two approach, ripping first and digging second, turns impossible ground into a manageable trench.
Wear and technique deserve attention on this tool. Ripping in steady, controlled passes rather than jerking the arm protects both the shank and the machine, and pulling the ripper toward you along the ground breaks material more efficiently than stabbing straight down. Working with the machine’s power instead of against it keeps the tool cutting and the excavator healthy.
Key takeaway: A ripper gives the machine the muscle to break compacted, frozen, or rocky ground a bucket can’t touch. Rip in steady passes to loosen the material, then swap back to a bucket to clear it.
Demolishing Concrete With a Hydraulic Breaker
Hydraulic breakers push a mini excavator into demolition work, turning it into a compact wrecking tool. Mounted on the coupler and fed by the machine’s auxiliary hydraulics, a breaker pounds through concrete slabs, asphalt, rock, and old foundations that no bucket or ripper could shatter. Small demolition jobs, curb removal, and hardscape teardowns that once meant a crew with jackhammers now belong to the machine.
Flow and pressure drive the hammer, which is where owners get caught most often. A breaker sized to the machine’s hydraulic output strikes with steady, effective blows, while an oversized unit starved for flow just chatters without breaking through. Matching the breaker’s flow requirement to the excavator’s auxiliary hydraulics is essential before you ever start pounding.
Losing hydraulic power is one of the most common reasons a hydraulic breaker suddenly performs poorly. Low hydraulic fluid, clogged hydraulic filters, overheated hydraulic oil, worn hydraulic pumps, leaking hoses, or damaged quick couplers can all reduce the flow and pressure reaching the attachment. As the mini excavator loses hydraulic power, the breaker delivers weaker blows, cycles more slowly, and takes much longer to fracture concrete. In severe cases, the hammer may stop striking altogether until the hydraulic problem is corrected. Inspecting the hydraulic system regularly and fixing issues early helps maintain consistent breaker performance and prevents unnecessary wear on both the attachment and the excavator.
Technique protects both the tool and the operator here. Positioning the point near an edge rather than the center of a slab lets the concrete break away in manageable pieces, and moving the hammer to fresh spots instead of pounding one location keeps both the breaker and the hydraulic oil from overheating. Breaking methodically across a surface clears it faster than repeatedly attacking a single stubborn point.
Key takeaway: A hydraulic breaker gives the mini excavator real demolition muscle for concrete, rock, and asphalt. Match the hammer to the machine’s hydraulic flow, avoid losing hydraulic power through proper hydraulic maintenance, and break from the edges in steady, moving strikes for the fastest and safest results.
Drilling Clean Holes With an Auger
Augers make quick work of holes that would otherwise eat hours of hand-digging. Fitted with a rotating bit and powered by the machine’s auxiliary hydraulics, an auger bores clean vertical holes for fence posts, deck footings, sign bases, and tree planting, swapping bit diameters to match the size each job demands. What takes twenty sweaty minutes with a shovel drops into place in seconds.
Hydraulic flow keeps the bit turning, so confirm the auger suits your machine’s output before you run it. The auger’s motor needs steady flow to spin through soil, and matching the bit size to the machine’s capability keeps it drilling smoothly rather than bogging down in dense ground. Easing the bit down and letting it pull itself into the earth beats forcing it, which spares both the tool and the machine.
Soil conditions decide how the auger performs. Loose ground drills fast and clean, while rocky or heavy clay calls for a smaller bit and a patient touch, since a wide bit fighting hard material stalls quickly. Scouting the ground before you drill saves you from a bit buried and stuck at the bottom of a half-finished hole.
Key takeaway: An auger delivers clean, repeatable holes for posts, footings, and planting. Match the bit to your soil and the machine’s hydraulic flow, and let the bit dig at its own pace rather than forcing it.
Adding Reach With a Tilt Bucket or Grapple
Specialty tools stretch a mini excavator well beyond straight digging, and a tilt bucket is one of the most useful. Pivoting side to side on its mount, a tilt bucket angles the cutting edge without repositioning the whole machine, which makes grading slopes, shaping ditches, and finishing embankments far faster and cleaner. Contouring a surface that would take endless repositioning with a fixed bucket becomes a smooth, single-setup job.
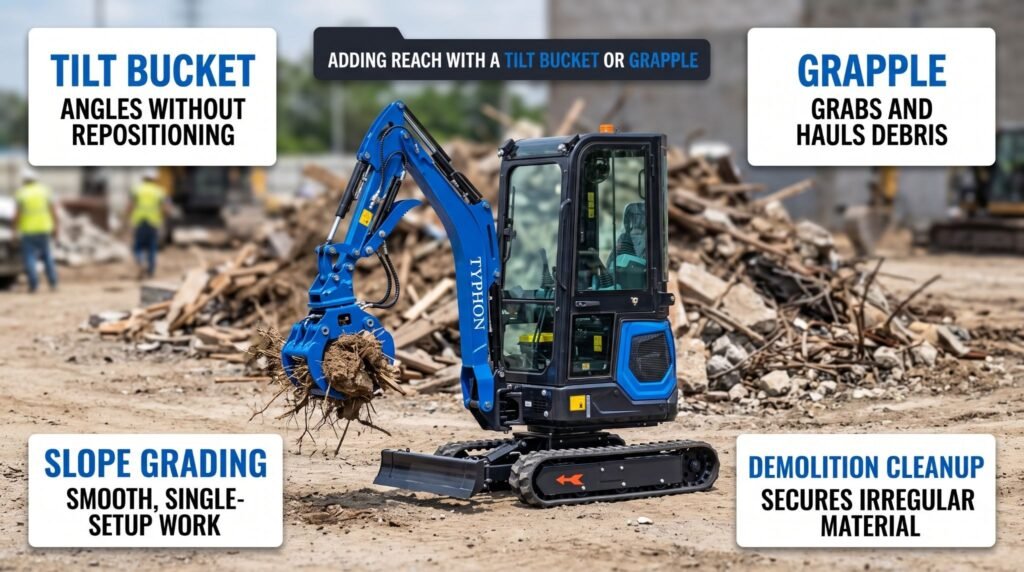
Grapples open up a different kind of work by giving the machine a way to grab and hold. Closing a hydraulic jaw over a load, a grapple grabs and hauls brush, logs, rock, and demolition debris that would roll or spill out of an open bucket. Land clearing, storm cleanup, and site demolition all move quicker when the machine can actually secure irregular material instead of nudging it around.
Coupler compatibility ties these specialty tools together, and it’s worth confirming before you buy. Most mini excavators use a quick coupler that lets tools swap in seconds, but pin sizes and coupler patterns vary by machine size and brand, so a tool built for one class won’t always fit another. Checking that an attachment’s mount, pin diameter, and hydraulic connection match your specific machine keeps a promising tool from becoming an expensive mismatch.
Key takeaway: A tilt bucket speeds up grading and shaping, while a grapple lets the machine grab and haul loose material a bucket can’t hold. Confirm the coupler and pin sizes match your machine before adding either one.
Conclusion
Choosing the right mini excavator attachments comes down to matching the tool on the coupler to the work in front of you. A digging bucket trenches and excavates, a ripper tears through compacted and rocky ground a bucket can’t touch, a hydraulic breaker demolishes concrete and asphalt, an auger drills clean holes for posts and footings, and specialty tools like a tilt bucket or grapple add grading finesse and material-handling reach. Across all of them, two details stay constant: confirm any powered tool matches your machine’s hydraulic flow so it performs the way it should, and verify the coupler, pin sizes, and connections fit your specific machine before you commit. Own the attachments you use on nearly every job, and rent the specialty tools you need only occasionally, weighing each one’s real usage against its price. Read the job, pick the tool that fits it, and click it on in under a minute. Match your attachments well, and one machine handles work that would otherwise scatter across a whole fleet. When you’re ready to put a dependable mini excavator and the right attachments to work, reach out to a trusted equipment specialist who can pair a reliable machine with the results your projects depend on.
Frequently Asked Questions
What attachments can a mini excavator use?
A mini excavator runs a wide range of tools through its quick coupler, including digging buckets in various widths, rippers, hydraulic breakers, augers, tilt buckets, and grapples, plus specialty tools like compactors and thumbs. Each tool changes what the machine does, so one excavator can trench, rip hard ground, break concrete, drill holes, grade slopes, and haul debris simply by swapping the attachment on the arm.
Do mini excavator attachments need hydraulic flow to work?
Some do and some don’t. Simple tools like digging buckets and rippers rely only on the machine’s arm and lifting force, so they don’t need auxiliary hydraulics. Powered attachments like breakers, augers, tilt buckets, and grapples run off the machine’s auxiliary hydraulics and need adequate flow and pressure to perform. Match each powered tool to your machine’s hydraulic output before you run it, since a tool starved for flow won’t do the job right.
Should I buy or rent mini excavator attachments?
It depends on how often you’ll use each tool. Attachments you reach for on nearly every job, like a digging bucket or two, usually earn their price quickly, so owning them makes sense. Specialty tools you need only a few times a year, such as a breaker or a grapple, often cost less to rent for those windows than to buy and store. Confirm coupler and pin compatibility before you rent or buy either way.
