
Safe Operation Practices Taught in Mini Excavator Operator Training
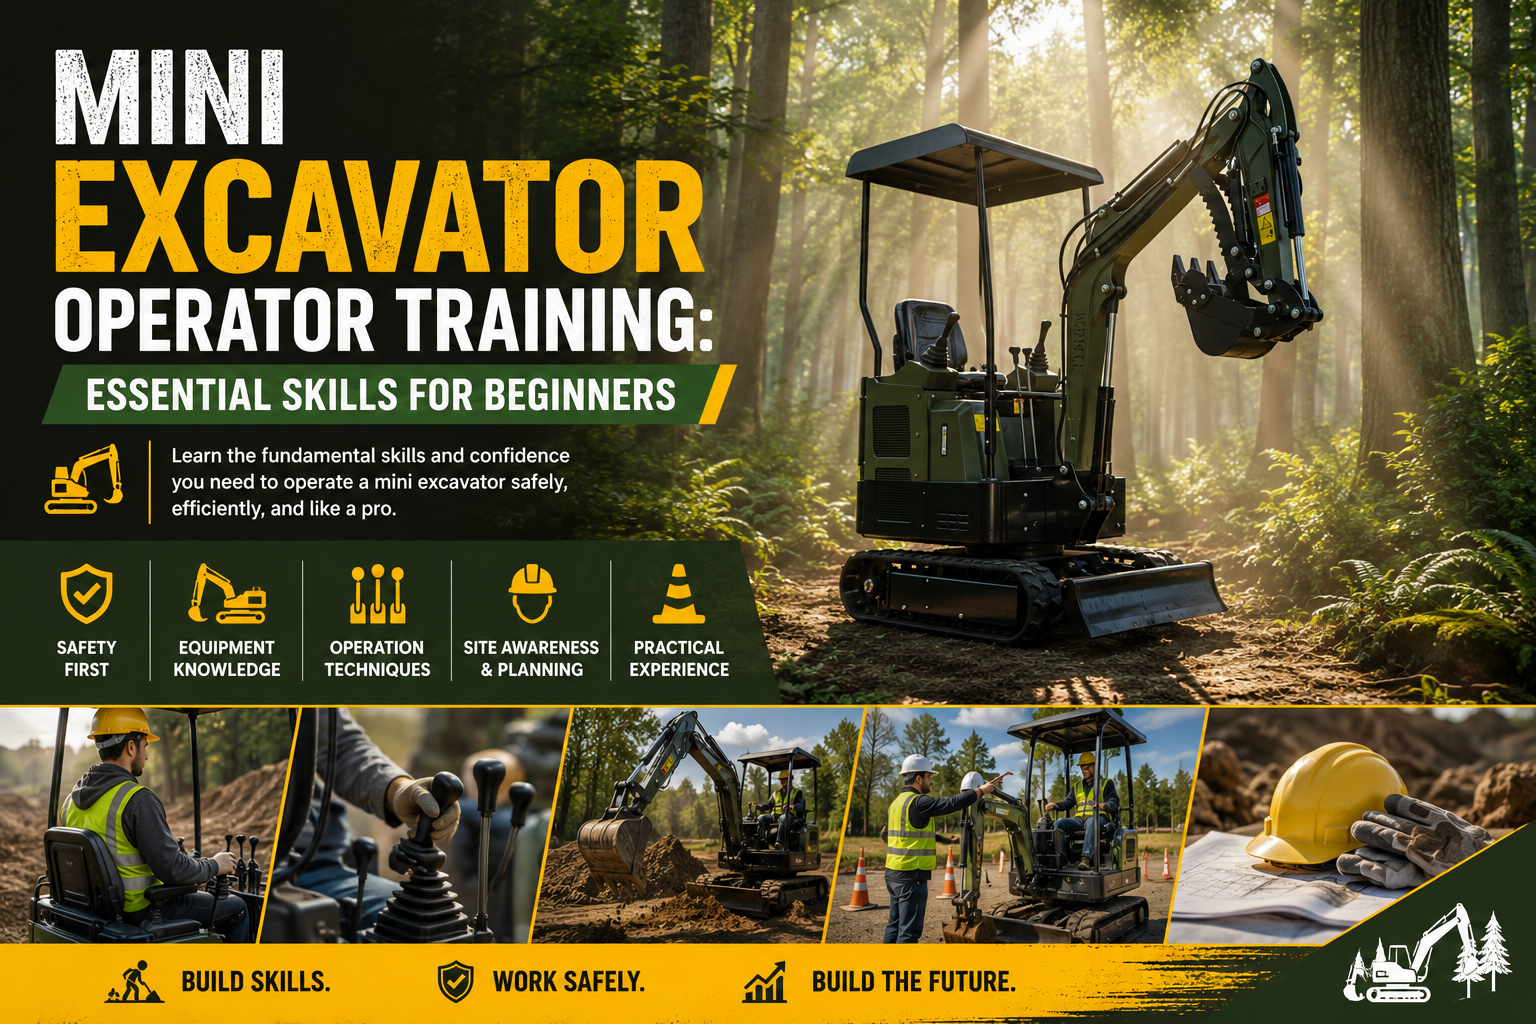
Mini Excavator Operator Training: Essential Skills for Beginners
A mini excavator looks simple from the outside — two joysticks, a boom, a bucket, and some tracks. But the difference between an operator who digs clean trenches all day and one who stalls, swings into a fence, or tips on a slope comes down to training. Skill on these machines is learned, not guessed. And the good news is that the core skills are very learnable when you build them in the right order.
This guide is for new operators, contractors, landscapers, and equipment buyers who want a clear, practical path to confident operation. We’ll walk through the controls, the safety checks, the basic moves, and the mistakes that trip up most beginners — along with simple ways to build skill faster. Whether you just bought your first machine or you’re putting a crew member behind the controls, start here.

Why Operator Training Matters
Training pays off in two areas that decide whether a machine helps or hurts your bottom line: safety and productivity.
On the safety side, a mini excavator is heavy, powerful, and capable of serious harm. Untrained operators tip machines on slopes, strike buried utilities, swing into people or structures, and damage the machine itself. Most of those incidents trace back to skipped fundamentals — not bad luck. Solid training prevents injuries, protects your equipment, and keeps your jobsite running.
On the productivity side, a trained operator simply gets more done. Smooth, coordinated control means faster cycles, cleaner trenches, less rework, and lower fuel and wear costs. An untrained operator fights the machine all day; a trained one lets the hydraulics do the work.
Bottom line: training turns a risky, inefficient machine into a safe, profitable one. Time spent learning the fundamentals returns itself many times over.
Understanding the Machine and Its Controls
Before you dig, you need to know what every control does and how the machine responds. Spend real time here — confident operation starts with knowing the controls cold.
The Joysticks
Most mini excavators use two joysticks that control the boom, arm (dipper), bucket, and house rotation (swing). The two most common control patterns are ISO and SAE (backhoe).
- ISO pattern: Left joystick controls the arm and swing. Right joystick controls the boom and bucket.
- SAE pattern: Left joystick controls the boom and swing. Right joystick controls the arm and bucket.
Many machines include a switch to change between patterns. Always confirm which pattern is active before you start. Switching machines without checking is a common cause of mistakes — your hands expect one response and the machine does another.
The Foot Pedals and Travel Levers
At the front of the cab sit two travel levers, usually paired with foot pedals. These control the tracks:
- Push both levers forward to move forward; pull both back to reverse.
- Push one side only to turn.
- Push one forward and pull the other back to spin in place (counter-rotate).
A separate pedal often controls the boom swing (offsetting the boom left or right for digging close to walls), and an auxiliary pedal or thumb control runs hydraulic attachments. Know which pedal does what before the machine moves.
The Instrument Panel
The panel shows the machine’s vital signs: fuel level, engine temperature, hydraulic warnings, engine hours, and indicator lights. Learn to read it at a glance. A warning light you ignore today becomes an expensive repair tomorrow.
Quick takeaway: confirm your control pattern, learn the travel and swing controls, and read the panel before every shift. Master the controls first, and every skill that follows comes easier.
Pre-Operation Inspection Checklist
A few minutes of inspection before each shift catches small problems before they become breakdowns — or accidents. Build this walk-around into your daily routine.
Before you start the engine:
- Check engine oil, hydraulic fluid, and coolant levels
- Inspect for leaks under and around the machine
- Look over hydraulic hoses and fittings for wear, cracks, or seepage
- Inspect the tracks for tension, wear, and lodged debris
- Check the bucket, teeth, and attachment pins for wear or damage
- Confirm the cab is clean, mirrors are set, and the seatbelt works
- Clear the cab floor of loose tools or debris
After you start the engine:
- Watch the gauges and warning lights as the machine warms up
- Test each control through a slow, full range of motion
- Confirm the travel, swing, and attachment functions respond correctly
- Listen for unusual noises from the engine or hydraulics
Real-world example: an operator who skips the hose check might not notice a worn hydraulic line until it bursts mid-dig — spraying fluid, stopping work, and creating a cleanup and repair bill. The two-minute inspection would have caught it.
Bottom line: never skip the walk-around. It’s the cheapest insurance you’ll find on any jobsite.
Basic Operating Skills
With the controls understood and the machine inspected, it’s time to build the core moves. Practice each one slowly in an open, level area before combining them.
Traveling
Move the machine with the blade in front of you whenever possible, so you can see where it’s going. Travel with the boom low and the bucket tucked close to keep the center of gravity low and stable. Move slowly, especially over uneven ground, and avoid sharp turns at speed. On a slope, always travel straight up and down — never across the face.
Swinging
Swing (rotating the house) is smooth when you ease into the joystick rather than jerking it. Practice swinging to a target and stopping cleanly without overshooting. Remember the tail swing — the rear counterweight extends out as you rotate, so always know what’s behind you before you swing.
Digging Technique
A clean dig is a coordinated motion, not a single pull. The basic cycle looks like this:
- Extend the arm out and position the bucket at the dig point
- Curl the bucket while drawing the arm back toward the machine
- Let the bucket fill as it pulls through the material — don’t force it
- Lift the boom slightly as the bucket fills to keep it loaded
- Swing to the spoil pile and dump with a smooth bucket roll
- Return and repeat
The goal is a smooth, continuous motion. Forcing the bucket or stalling the hydraulics wastes fuel and slows you down. Let the machine work at its own pace.

Trenching
For straight, clean trenches, position the machine square to the trench line and dig in even passes, pulling material back toward you. Work in layers rather than trying to reach full depth in one pass. Pile spoil far enough from the trench edge that it won’t collapse back in or destabilize the wall. Reposition the tracks in straight, measured moves to keep the trench line true.
Quick takeaway: smooth beats fast. Coordinated, unhurried movements produce better results and build the muscle memory that makes real speed possible later.
Safe Operation Practices
Skill means nothing without safety. These practices protect you, your crew, and everyone around the machine.
Know Your Surroundings
Before you start, scan the full work area. Identify people, structures, traffic, and obstacles. Establish a clear swing radius and keep ground crew out of it. Use a spotter when visibility is limited, and agree on hand signals before work begins. Never let anyone stand within the machine’s swing path or under a raised load.
Working Near Utilities
Buried utilities — gas, electric, water, and communication lines — are a serious hazard. Always call for utility locating before you dig. In the U.S., that means contacting 811 to have lines marked. Once marked, hand-dig or use extreme caution near the marked area. Striking a gas or electric line can be fatal, so treat every unmarked dig as a real risk.
Slope and Stability Safety
Mini excavators can tip on slopes if handled carelessly. Travel straight up and down inclines, not across them. Keep the heavy end (the house and boom) pointed uphill when working a grade. Avoid sudden swings or movements on a slope, and never dig in a way that undercuts the ground beneath your own tracks.
Respect Load Limits
Every machine has a rated lifting capacity that drops as the boom extends and the load moves away from the machine. Don’t lift beyond the rating, and remember that the safe load is lowest at full reach and full height. Overloading risks tipping and damages the hydraulics. When lifting, keep loads low and close to the machine.
Bottom line: know what’s around you, call before you dig, stay mindful on slopes, and respect the machine’s limits. Safety habits formed early last a whole career.
Common Beginner Mistakes and How to Avoid Them
Most new operators make the same handful of errors. Knowing them in advance helps you skip them.
- Jerky, over-controlled movements. Beginners tend to grab the joysticks hard and overcorrect. Fix: ease into every motion and practice smooth, gradual control in an open area.
- Forgetting the tail swing. New operators swing into walls, vehicles, or fences with the counterweight. Fix: check behind the machine before every swing, and position with tail clearance in mind.
- Forcing the bucket. Trying to take too big a bite stalls the hydraulics and wastes fuel. Fix: take manageable passes and let the bucket fill naturally.
- Skipping the pre-op inspection. Rushing past the walk-around lets small problems grow. Fix: make the checklist a non-negotiable habit.
- Digging too close to the tracks. Undercutting the ground beneath the machine invites a tip or slide. Fix: maintain a safe distance and dig away from your footing.
- Ignoring ground conditions. Soft, wet, or uneven ground destabilizes the machine. Fix: read the terrain and reposition onto firm, level ground when needed.
- Operating without a control-pattern check. Switching machines and assuming the pattern carries over leads to wrong inputs. Fix: confirm ISO or SAE every time you climb in.
Quick takeaway: nearly every beginner mistake comes from rushing or skipping a fundamental. Slow down, follow your routine, and most of these never happen.
Attachment Basics
One of the mini excavator’s biggest strengths is its range of attachments. Learning to swap and run them safely expands what one machine can do.
Swapping Attachments Safely
Whether you use a manual pin-on system or a quick coupler, follow the same safe routine:
- Park on firm, level ground and lower the attachment to the surface
- Engine off and controls neutral before you handle pins or couplers
- Confirm pins are fully seated and locked, or that the quick coupler is positively engaged
- For hydraulic attachments, connect the auxiliary lines and relieve pressure as the manual directs
- Test the new attachment slowly before putting it to work
Always confirm the attachment is locked in. A bucket that drops because a coupler wasn’t fully engaged is a serious, avoidable hazard.
Operating Common Attachments
- Buckets: The standard tool for digging and material handling. Match bucket width to the job — narrow for trenching, wide for grading and bulk digging.
- Hydraulic thumbs: A thumb works with the bucket to grip and move logs, rocks, and debris. Practice the coordination between bucket and thumb on light material before handling heavy loads.
- Augers: Powered by the auxiliary hydraulics, augers drill clean holes for posts and plantings. Keep the auger vertical, let it bore at a steady pace, and avoid forcing it through hard ground.
Before running any hydraulic attachment, confirm your machine’s auxiliary flow and pressure match what the tool requires. A mismatch means poor performance or damage.
Bottom line: swap attachments methodically, confirm the lock, and practice each tool slowly before relying on it. Versatility is only an advantage when you handle it safely.
Tips for Building Skills Faster
Skill comes with seat time, but smart practice gets you there faster. Use these strategies to accelerate your learning.
- Start in an open, level area. Practice the basic moves where there’s nothing to hit and no pressure. Build muscle memory before you take on real work.
- Master one skill at a time. Get comfortable traveling, then swinging, then digging — before combining them. Layering skills beats trying everything at once.
- Practice smooth, simultaneous control. The mark of an experienced operator is coordinating boom, arm, bucket, and swing in one fluid motion. Work toward blending movements gradually.
- Set simple drills. Dig to a marked depth, swing to a target, or trench a straight line. Concrete goals sharpen control faster than aimless digging.
- Watch experienced operators. Pay attention to how they pace their cycles and position the machine. There’s a lot to learn just from observing good technique.
- Pursue formal training and certification. A structured course teaches safe technique and may be required for certain jobs and insurance. It’s a strong investment for any serious operator.
- Review the operator’s manual. Every machine differs. The manual covers your specific controls, capacities, and maintenance needs — read it.
Real-world example: an operator who spends a single afternoon drilling straight trenches and clean swings in an empty lot will outperform someone who jumped straight into a live job and spent that same afternoon fixing mistakes. Deliberate practice compounds.
Building Confidence at the Controls
Learning to operate a mini excavator is a process of building fundamentals in the right order: understand the controls, inspect the machine, master the basic moves, work safely, and add attachments as your skill grows. Each layer supports the next, and skipping steps is where trouble starts.
Be patient with yourself, respect the machine’s power, and never trade safety for speed. The operators who become genuinely skilled are the ones who slow down early, practice with purpose, and treat the fundamentals as habits rather than checkboxes. Put in that deliberate seat time, follow the practices in this guide, and you’ll move from cautious beginner to confident, productive operator — one clean dig at a time.
When you’re ready to take the next step, consider a formal training course and spend real time with your machine’s operator’s manual. The investment in proper training pays back every shift, in safer work and better results you can count on.
Why Mini Excavator Operator Training Matters
Training pays off in two areas that decide whether a machine helps or hurts your bottom line: safety and productivity.
On the safety side, a mini excavator is heavy, powerful, and capable of serious harm. Untrained operators tip machines on slopes, strike buried utilities, swing into structures, and damage the machine itself. Most of those incidents trace back to skipped fundamentals. Solid mini excavator operator training prevents injuries, ensures compliance with OSHA Heavy Equipment standards, and keeps your job site running smoothly.
On the productivity side, a trained operator simply gets more done. Smooth, coordinated control means faster cycles, cleaner trenches, less rework, and lower fuel and wear costs. An untrained operator fights the machine all day; a trained one lets the hydraulics do the work. Proper mini excavator operator training turns a risky, inefficient machine into a safe, profitable asset.
(Need a machine to practice on? Browse our mini excavator rental fleet to find the right size for your next project.)
Core Components of Mini Excavator Operator Training
Before you dig, you need to know what every control does. Confident operation starts with knowing the controls cold.
Understanding the Joysticks
Most mini excavators use two joysticks that control the boom, arm (dipper), bucket, and house rotation (swing).
- ISO pattern: Left joystick controls the arm and swing. Right joystick controls the boom and bucket.
- SAE pattern (backhoe): Left joystick controls the boom and swing. Right joystick controls the arm and bucket.
Many machines include a switch to change between patterns. A crucial rule in mini excavator operator training is to always confirm which pattern is active before you start moving.
The Foot Pedals and Travel Levers
At the front of the cab sit two travel levers, usually paired with foot pedals, to control the tracks:
- Push both levers forward to move forward; pull both back to reverse.
- Push one side only to turn.
- Push one forward and pull the other back to spin in place.
The Pre-Operation Inspection Checklist
A foundational part of formal mini excavator operator training is the daily walk-around. A few minutes of inspection before each shift catches small problems before they become breakdowns.
Before you start the engine:
- Check engine oil, hydraulic fluid, and coolant levels.
- Inspect for leaks under and around the machine.
- Look over hydraulic hoses and fittings for wear or cracks.
- Inspect the tracks for tension, wear, and lodged debris.
Basic Operating Skills
With the controls understood and the machine inspected, practice each core move slowly in an open, level area.
Traveling and Swinging
Move the machine with the blade in front of you so you can see where it is going. Travel with the boom low to keep the center of gravity stable.
Swing (rotating the house) is smooth when you ease into the joystick rather than jerking it. Remember the tail swing: the rear counterweight extends out as you rotate, so always know what is behind you.
Proper Digging Technique
A clean dig is a coordinated motion. The basic cycle taught in mini excavator operator training looks like this:
- Extend the arm out and position the bucket at the dig point.
- Curl the bucket while drawing the arm back toward the machine.
- Let the bucket fill as it pulls through the material without forcing it.
- Lift the boom slightly as the bucket fills to keep it loaded.
- Swing to the spoil pile and dump with a smooth bucket roll.
Safe Operation Practices Taught in Mini Excavator Operator Training
Skill means nothing without safety. These practices protect you, your crew, and everyone around the machine.
- Know Your Surroundings: Establish a clear swing radius and keep ground crews out of it.
- Working Near Utilities: Always contact 811 Call Before You Dig for utility locating before you break ground. Treat every unmarked dig as a real risk.
- Slope and Stability Safety: Keep the heavy end (the house and boom) pointed uphill when working a grade. Never dig in a way that undercuts the ground beneath your own tracks.
Common Beginner Mistakes and How to Avoid Them
Knowing the common errors in advance helps you skip them. Nearly every beginner mistake comes from rushing or skipping a fundamental part of your mini excavator operator training.
| Mistake | Why It Happens | How to Fix It |
| Jerky Movements | Grabbing joysticks hard and overcorrecting. | Ease into every motion slowly in an open area. |
| Tail Swing Collisions | Forgetting the rear counterweight. | Check behind the machine before every single swing. |
| Forcing the Bucket | Trying to take too big of a bite. | Take manageable passes; let the bucket fill naturally. |
| Undercutting Tracks | Digging too close to the machine’s base. | Maintain a safe distance and dig away from your footing. |
Tips for Building Skills Faster
Skill comes with seat time, but smart practice gets you there faster.
- Start in an open area: Build muscle memory where there is no pressure and nothing to hit.
- Master one skill at a time: Get comfortable traveling, then swinging, then digging.
- Set simple drills: Dig to a marked depth or trench a straight line. Concrete goals sharpen control faster than aimless digging.
Learning to operate a mini excavator is a process of building fundamentals. Be patient with yourself, respect the machine’s power, and never trade safety for speed. The operators who become genuinely skilled are the ones who slow down early and treat mini excavator operator training as a lifelong foundation, not a one-time checkbox.
(Ready to take the next step in your career? Contact our team today to learn more about advanced operation techniques and equipment sourcing.)
