
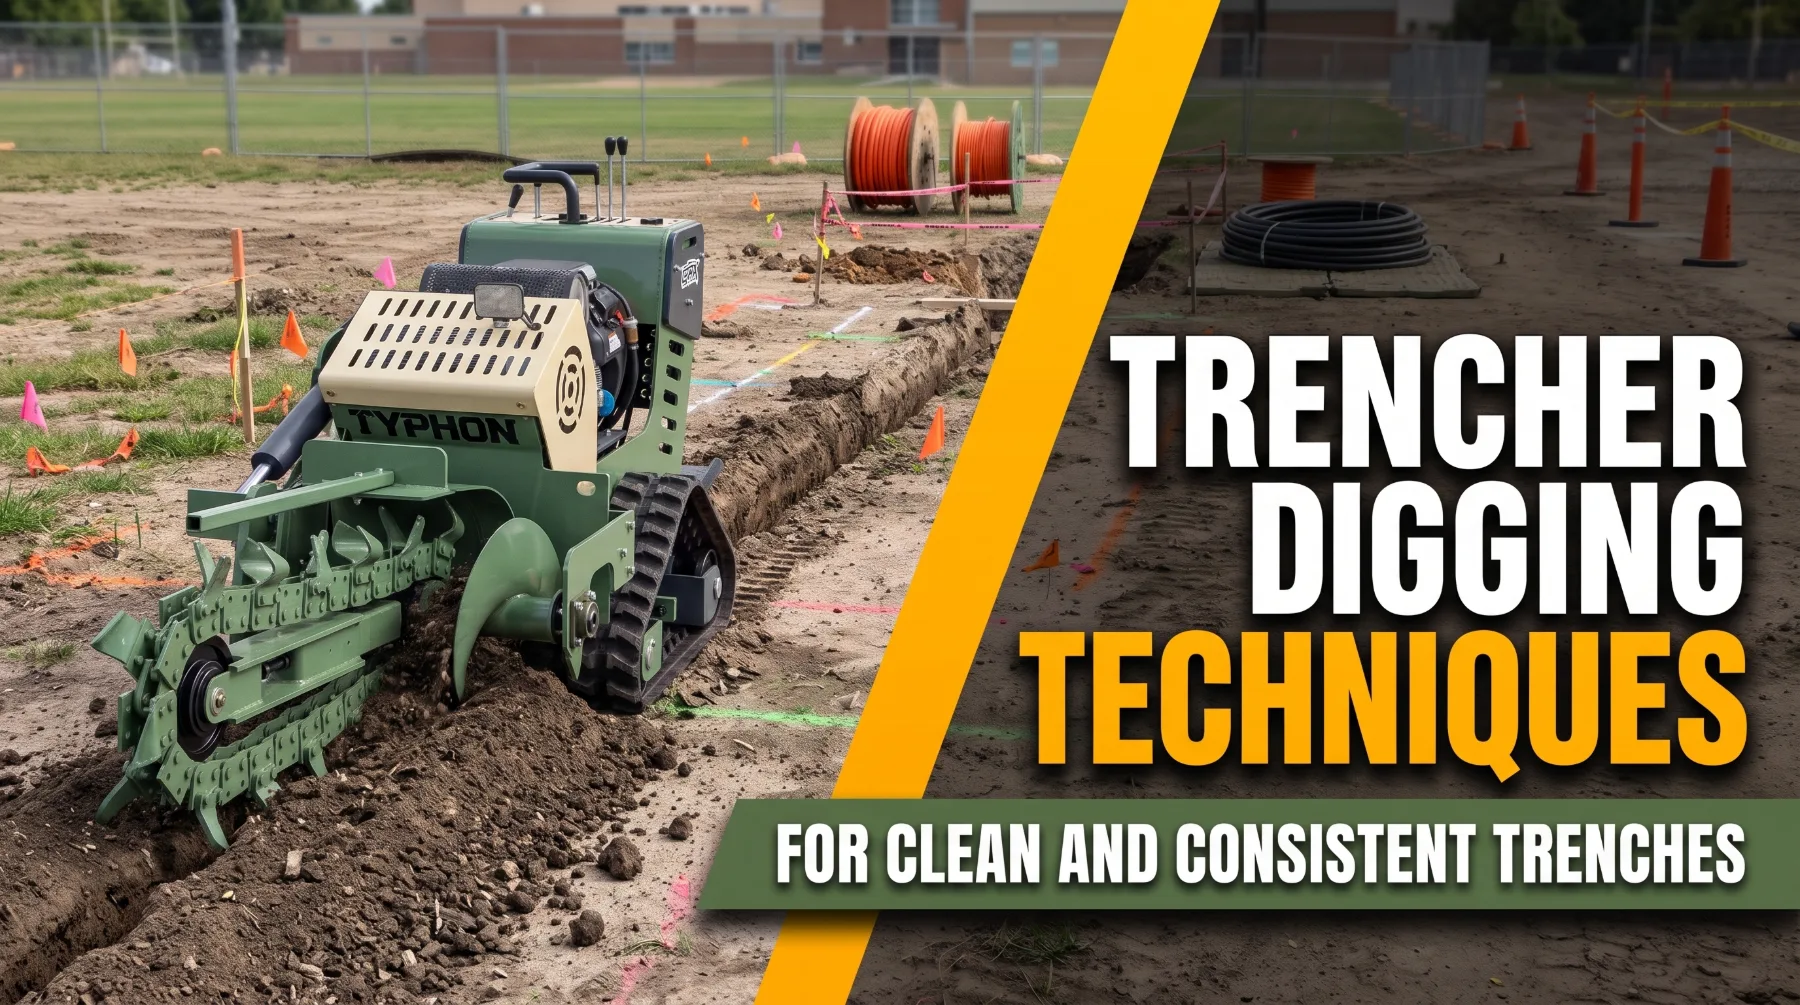
Trencher Digging Techniques for Clean and Consistent Trenches
The irrigation contractor has a large stretch of lateral lines to install across a new school athletic complex, and the inspection is scheduled for Friday. Monday’s trenching starts well. The ride-on trencher cuts a tidy trench through sandy loam, and the spoil lands in a neat windrow. By Tuesday afternoon, the crew reaches the far field, where the soil turns to compacted clay with pockets of buried construction gravel. The operator keeps the same travel speed, and the trench begins to change. Depth drifts, loose clods fall back onto the floor, and one section bows off the paint line. On Wednesday, the crew spends half a day hand-digging, re-cutting, and cleaning out trench they thought was finished. The machine never failed. The technique simply didn’t adjust when the ground did.
Clean, consistent trenches form the base of every successful underground installation. Utility conduit, drainage pipe, irrigation lines, and fiber or power cable all depend on a trench with the right depth, a uniform width, a firm and clean floor, and a straight alignment. When trench dimensions wander, problems follow. Pipe sits unevenly, drainage lines lose their grade, cable cover falls below specification, and backfill takes longer to place and compact. Inspectors reject work, and crews pay for it with rework and lost days.
A trencher can produce a controlled, accurate trench when it’s correctly set up and operated for the ground in front of it. Cutting depth, chain and tooth selection, travel speed, boom position, spoil management, and steering all shape the finished result. The manufacturer’s operator’s manual, project specifications, and applicable regulations remain the primary reference for every machine and every job.
Setting the Required Trench Depth and Width
Plans and specifications, not the machine’s maximum digging depth, determine the trench you need. Conduit, cable, irrigation pipe, and drainage pipe each carry burial requirements that may be set by code, utility owner standards, manufacturer instructions, or project specifications. Start with those numbers, then confirm the trencher can reach them comfortably in the expected soil.
Target depth should account for the required cover over the product, the product’s outside diameter, and any bedding material beneath it. Many crews set the trencher to cut slightly deeper than the calculated minimum to allow for minor floor variation and loose material, but keeping that allowance small avoids wasting time, fuel, and backfill material.
Width needs the same care. The trench must hold the product, any bedding or embedment material, and enough room for backfill to be placed and compacted around it. A trench that’s too narrow can make it difficult to lay pipe without damaging it, especially at fittings and couplings. A trench that’s too wide wastes material and weakens the surrounding ground. Chain width sets trench width on most machines, so fit the chain that matches the requirement before starting rather than trying to widen the trench with extra passes.
Maximum digging depth is a published capability under suitable conditions, not a guaranteed working depth. Hard clay, rock, high water tables, and long runs can make full depth slow or impractical. Plan installations around a depth the machine reaches steadily in your soil. Set depth using the machine’s depth control, indicator, or boom position according to the manufacturer’s instructions. Then cut a short test section, stop, and measure from the surface with a grade rod or tape. Confirm depth, width, and floor condition before committing to the full run. Remember that trench depth also triggers safety requirements.
Key takeaway: Calculate target depth from cover, product size, and bedding, fit the chain that matches the required width, and verify a short test section before cutting the full trench.
Managing Spoil Removal and Trench Alignment
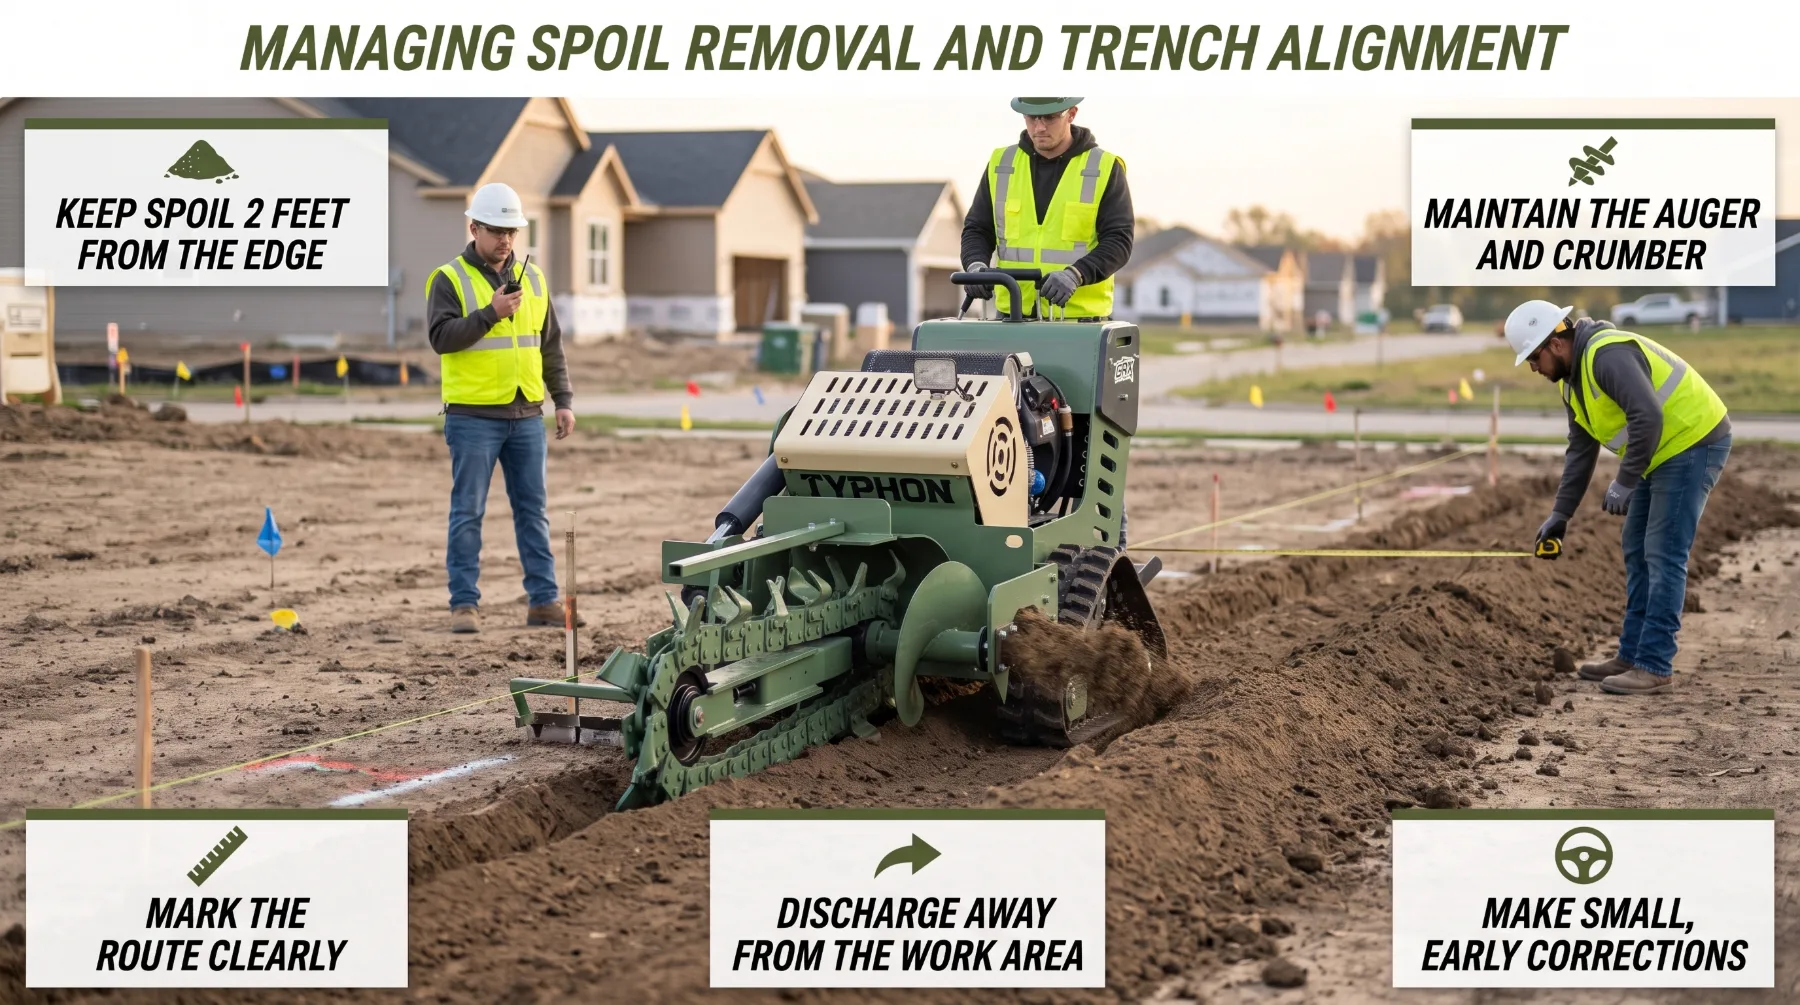
Spoils that stay out of the trench are the key to a clean floor. The trencher’s spoil auger moves excavated material to one or both sides of the trench as the chain lifts it, while the crumber trails behind the chain to sweep loose soil from the floor. When both work correctly, the trench stays open and clean. When spoil falls back in, the floor becomes uneven, depth readings become unreliable, and the crew ends up hand-cleaning.
Steering keeps the trench on line. Before cutting, mark the route clearly with paint, flags, or a string line. For long straight runs, set offset stakes or pick a distant sighting point the operator can track. Large drainage and utility projects may use laser or GPS guidance for line and grade. Make small, early steering corrections as soon as the machine begins to drift. A trencher that has moved off line can’t swing back sharply without twisting the boom in the cut, widening the trench, or stressing the chain. If a large correction is needed, stop, raise the boom, reposition, and begin a fresh cut. Trenchers cut gradual curves well, but tight turns with the boom in the ground can bind the chain and break out the trench walls. For sharp direction changes, end one run, raise the boom, reposition, and plunge again on the new line.
Key takeaway: Keep spoil at the required distance from the trench edge, maintain the auger and crumber so material stays out of the trench, and steer with small, early corrections along a clearly marked line.
Maintaining a Consistent Travel Speed
Pace is the technique that separates experienced trencher operators from beginners. Travel speed controls how much new soil the chain must remove every minute. When speed matches the ground, the chain cuts cleanly, clears spoil, and holds depth. When speed runs too high, the chain falls behind, and trench quality suffers almost immediately.
Traveling too fast causes predictable problems. Teeth take bites larger than they can clear, spoil builds up in the trench, and loose material falls back onto the floor. The boom may ride upward, leaving the trench shallower than specified. Walls can become ragged, and the engine lugs or stalls. Traveling too slowly wastes time and fuel and can make the chain grind the same material repeatedly, adding wear without improving the trench. Doubling travel speed roughly doubles the volume of soil the chain must remove per minute, which in harder ground can quickly exceed what the machine can handle.
Start each trench with a proper plunge. With the area clear, engage the chain at the manufacturer’s recommended engine speed, then lower the boom gradually into the ground until it reaches working depth. Begin travel only after the boom is at depth, then increase speed gradually while watching the machine’s response. Most ride-on and track trenchers use a hydrostatic ground drive with a creep range for trenching. Set the engine at the recommended speed for digging and use travel speed to control the load.
Read the machine continuously. Signs that you’re pushing too hard include engine speed dropping, chain speed slowing, increased vibration, unusual noise, spoil building in the trench instead of leaving it, and the boom rising. Back off travel at the first sign. Many modern trenchers include load control or anti-stall systems that automatically slow ground drive when the engine bogs. Those systems help, but they don’t replace operator judgment. A steady, controlled pace almost always produces more finished trench per hour than bursts of speed followed by stalls and cleanup. Finish each run with the same care by stopping forward travel, letting the chain clear the remaining spoil, and raising the boom out of the trench with the chain running at reduced speed, as the manual directs.
Key takeaway: Travel speed sets how much soil the chain must remove each minute, so plunge to depth before moving, increase speed gradually, and back off at the first sign of bogging, vibration, or boom climb.
Inspecting Trench Quality During and After Work
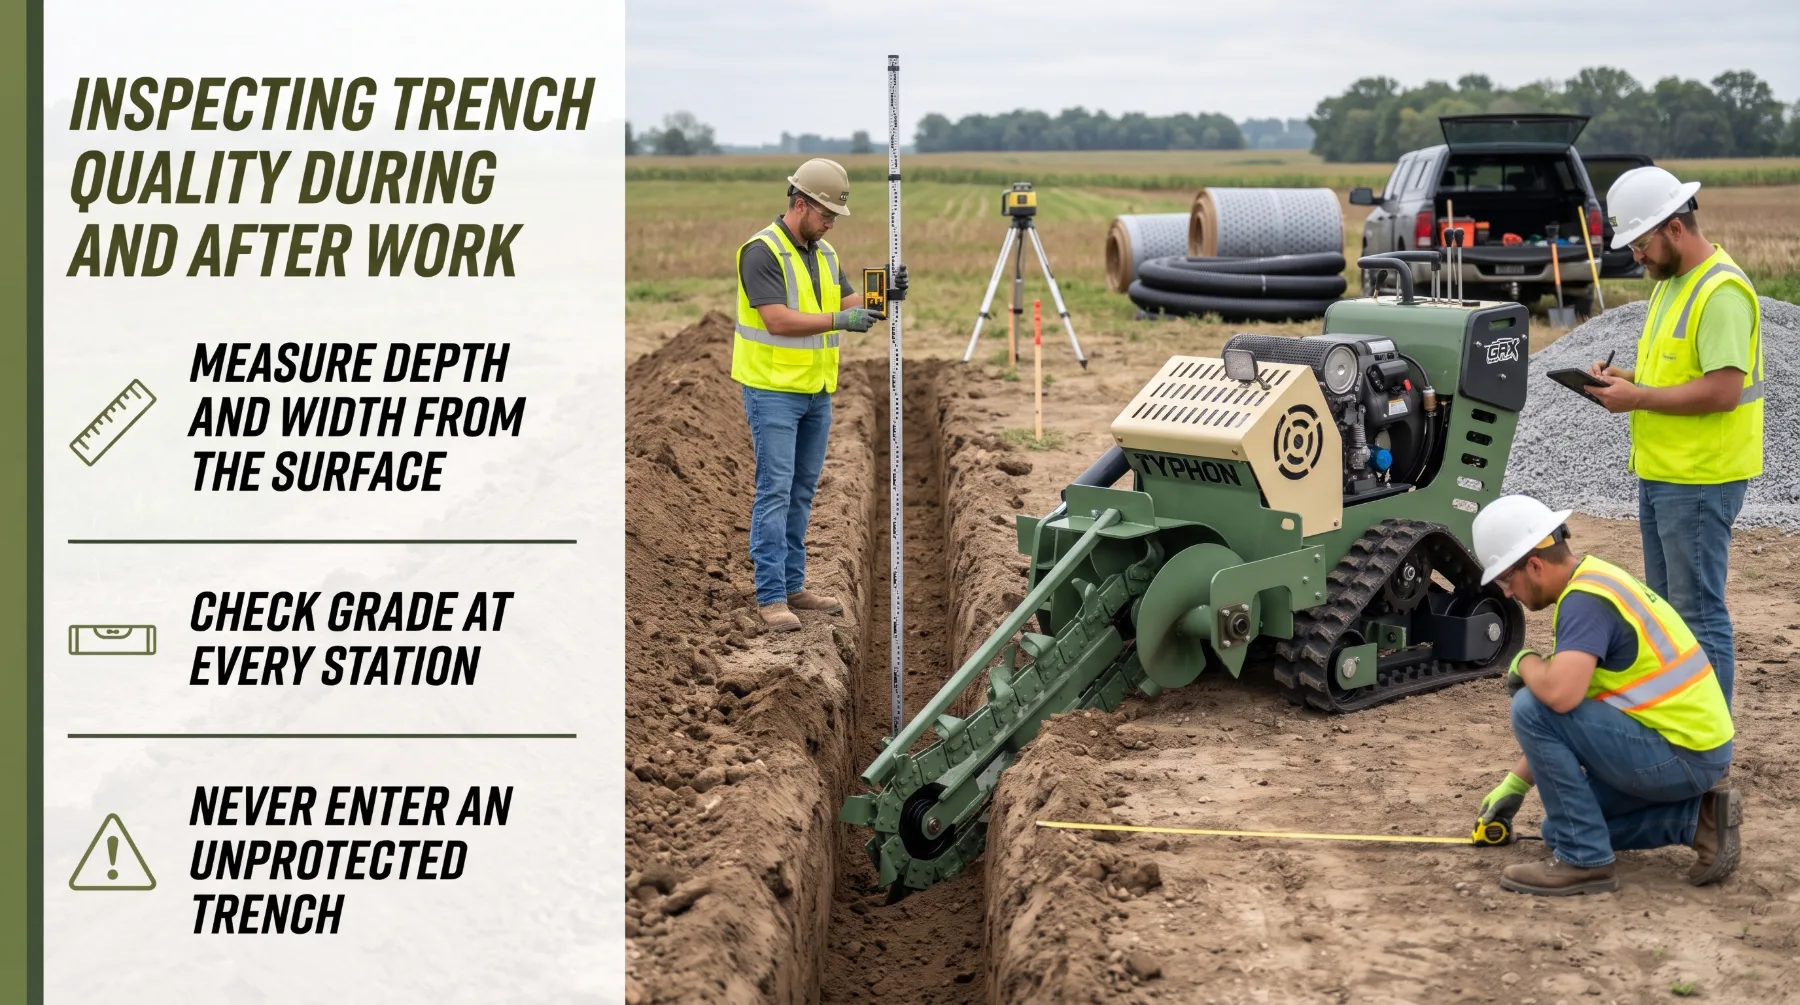
Measurement turns trenching from guesswork into a controlled process. Check the trench regularly as it’s cut, not only at the end of the day. Early checks catch drifting depth, worn teeth, or a misadjusted crumber while the fix is still simple.
Set a measurement interval that suits the job. On a typical utility or irrigation run, check depth and width at regular intervals and at every change in soil, grade, or direction. Take measurements from the surface using a grade rod, tape, or depth stick. Never enter a trench to measure it unless a competent person has evaluated it and it’s protected as required. Look along the trench for consistent width, square walls, a firm floor, and a straight line. Note any ridges, soft spots, loose material, or sections where the walls are breaking away.
Drainage trenches add one more requirement: grade. Calculate the total required fall over the run length, then divide that into equal drops between check stations. At each station, the trench floor should sit at the expected elevation relative to a fixed reference such as a laser or a string line set on grade stakes. A station that rises or falls more than expected indicates a low spot that will hold water or a high spot that will slow flow. Correct it before the pipe goes in.
Final inspection confirms that the trench meets the installation requirements before any product is placed. Verify depth, width, alignment, floor condition, and grade where required. Remove loose material from the floor, and confirm that bedding can be placed to the specified thickness. A short final walk prevents installation delays, failed inspections, and costly corrective excavation after pipe or cable is already in the ground.
Key takeaway: Measure depth, width, alignment, and grade from the surface at regular intervals and every soil change, so problems are corrected while they’re small and the trench passes inspection the first time.
Troubleshooting Common Trench Defects
Defects usually have more than one possible cause, so effective troubleshooting looks at soil, tooling, speed, and machine setup together rather than blaming a single setting.
When a trench comes out shallower than specified, the most common causes are travel that’s too fast, a boom that’s climbing out of the cut, worn teeth, or hard soil. Slowing travel, confirming the depth setting, and replacing or changing tooth style usually resolves it. An uneven or ridged floor often points to inconsistent travel speed, missing teeth, or a crumber that’s out of adjustment. Holding a steadier pace, restoring the lacing pattern, and adjusting or replacing the crumber brings the floor back. Loose spoil in the trench bottom typically means the auger isn’t clearing, travel is too fast, the soil is too sticky, or the crumber is worn. Slowing travel, cleaning the auger, and inspecting the crumber and discharge side usually helps.
Ragged or wide walls point to missing side-cutting teeth, excessive vibration, or sharp steering corrections. Replacing teeth, checking chain tension, and making smaller early corrections fixes most cases. A trench that wanders off line usually comes down to poor line marking, late steering corrections, or the boom being deflected by rock. Improving the marking system, steering earlier, and removing obstructions before cutting addresses each of those. Walls that slough or cave signal loose or saturated soil, spoil too close to the edge, or vibration effects. Keeping spoil back, reducing speed, and evaluating whether a protective system is needed keeps workers safe. Frequent stalling typically means travel is too fast, the wrong teeth are fitted for the soil, or engine speed is below the recommended setting.
Change one variable at a time when correcting a problem, then cut a short section and measure again. Adjusting speed, tooling, and depth all at once makes it hard to know which change solved the issue. Record what worked in each soil type so the crew can set up faster on the next job.
Key takeaway: Diagnose trench defects by checking soil, tooling, speed, and setup together, change one variable at a time, and record successful settings for future jobs.
Conclusion
Quality trenching comes from technique as much as equipment. A careful route walk reveals soil changes, utilities, and obstructions before they affect the cut. The right chain and teeth, kept in good condition, cut cleanly and carry spoil out efficiently. Target depth and width calculated from the specification, then verified on a short test section, keep the trench accurate from the start. A steady travel speed matched to the soil, effective spoil management, and small, early steering corrections produce square walls, a clean floor, and a straight line.
Regular measurement from the surface and a structured approach to troubleshooting catch problems while they’re still easy to fix. Crews that combine these techniques with disciplined safety practice, including utility locates, chain awareness, cardboard leak checks, and full lockout before service, deliver trenches that pass inspection the first time, reduce rework, and keep every installation on schedule.
Frequently Asked Questions
What causes an uneven trench bottom? Common causes include inconsistent travel speed, worn or missing teeth, a crumber that’s out of adjustment, and changing soil conditions. Boom position also matters, since a boom that rides upward under load leaves high spots in the floor. Hold a steady pace, keep the lacing pattern complete, and check the crumber whenever loose material appears in the trench.
Should trencher travel speed remain constant? A steady speed is preferred because it produces more uniform depth and cleaner walls than frequent acceleration and stopping. Speed should still change when soil resistance changes. Slow down in hard clay, rocky ground, or sticky soil, and watch for engine bogging, vibration, or boom climb as signs that the chain is working too hard.
Which trencher chain is best for rocky soil? Use a chain and tooth configuration approved by the manufacturer for rock and abrasive ground, typically carbide shark teeth or rotating carbide rock teeth. Combination chains can help where soil shifts between loose and rocky sections. Solid rock may exceed a trencher’s capability, so test the ground before committing to a full run.
Why is spoil removal important? Spoil that falls back into the trench leaves an uneven floor, makes depth readings unreliable, and forces crews to hand-clean before installing product. Spoil piled too close to the edge also adds load to the trench walls and can roll back in. Keep spoil at the required distance from the edge and maintain the auger and crumber so material stays out of the trench.
